the motivation to be and to do
using a passion for the fiber arts to help animals in need, FAB is a revolution!
We keep it simple, we make it fun and all dedicated to The Llama Sanctuary
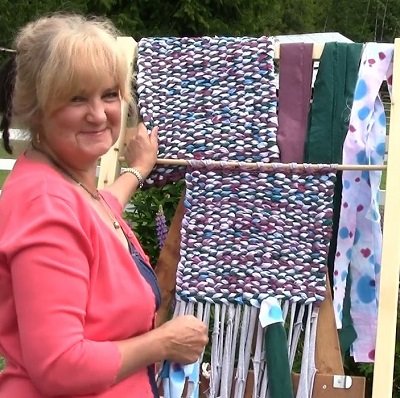
gigantic knitting needles and crochet hooks, working with BIG yarn, spinning, weaving, felting …it’s all here!


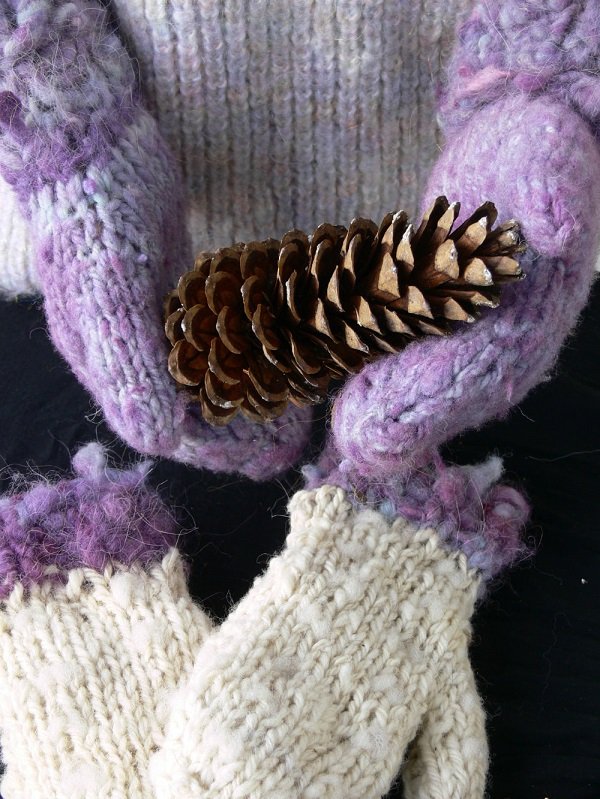


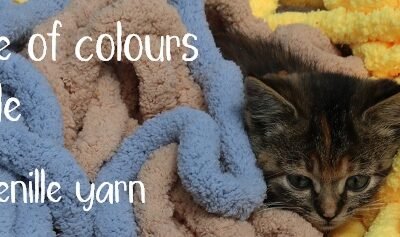
Colours
FAB offers a huge colour range of super-soft, super-chunky chenille yarn guaranteed to be the best quality found anywhere AND at the best prices
LLAMALOVE50 Discount Coupon
50% off all downloadable plans from FAB. Build your own spinning wheel, rag rug loom, fiber tumbler,fiber picker, all to help animals in need
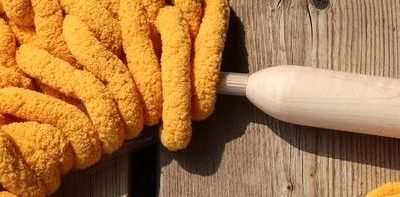
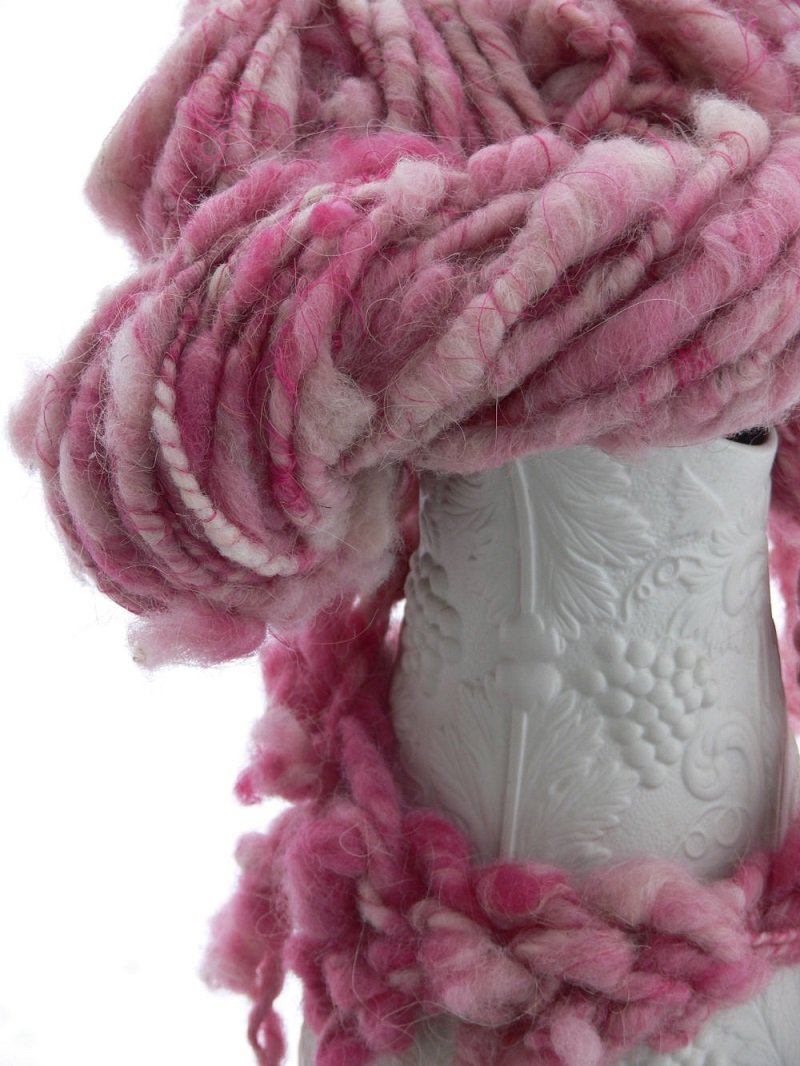
Mega Yarn for Mega Knitting
Affordable Super-Bulky Mega Yarn Being advocates of natural fiber for so many years, FAB has resisted embracing synthetic fibres, but as the Borg clearly stated: ‘You will be Assimilated into a Synthetic Yarn User. Resistance is futile’, or at least they used words...